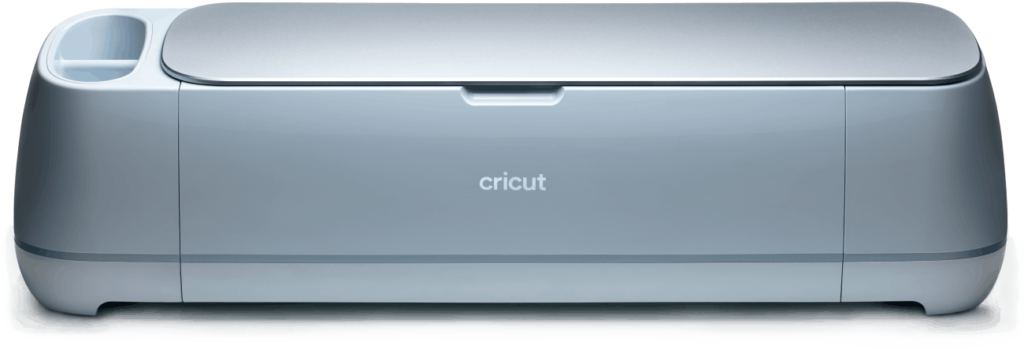
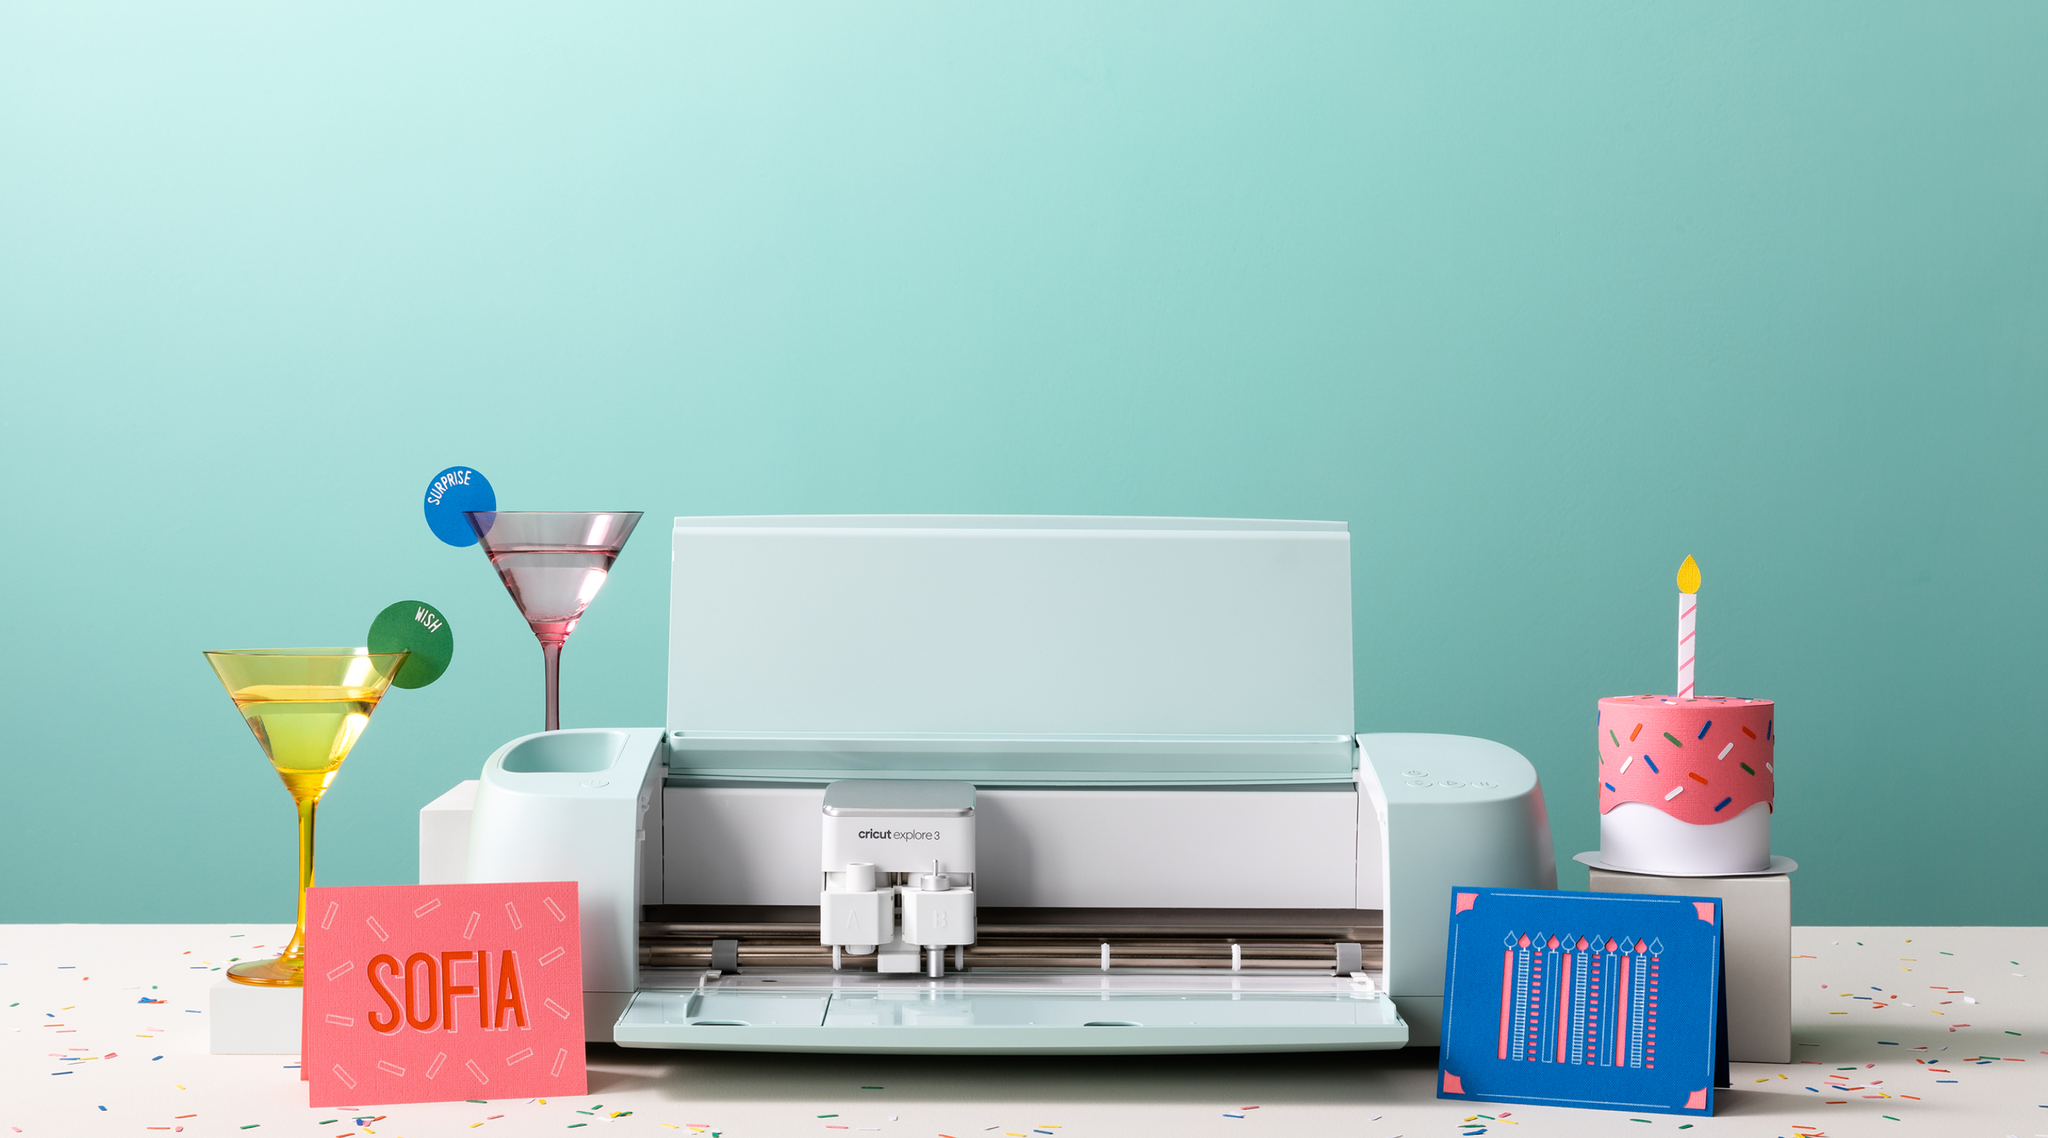
As far as I can tell, personalized doormats are all the rage right now, and I can see why. They’re so adorable! everyone should have one for their front door after seeing some amusing ones. These, of course, can be made in various ways, and with various materials. Try making a custom doormat to brighten up the porch. Try it out with the new Cricut Maker 3 software. It’s much simpler than expected, and you can finish it in the afternoon.

Material:
You’ll need the following:
- Cricut Explore 3
- Cricut EasyPress 2
- Smart Iron-On
- Weeding Tool
- Material Trimmer
- Sisal Door Mat
- Black Paint
- Bristle Paint Brush
Step-by-Step Guide to Make Your Choice of Doormat
Here we have compiled a step-by-step guide to make it easy for you to design and customize your choice of doormats for your home:
Step Number 1:
After you’ve opened the project, go to the bottom right-hand corner and click “Customize” to make changes to the name.
Step Number 2:
When you click on the project, a blank canvas will appear, allowing you to make changes to the project. When you double-click on “Your Text Here,” a text box will appear on your screen. Fill in the blanks with your name.
Step Number 3:
Because the Hello text is an image, you will not be able to change the font used, but you can change the font used for the surname below Hello by selecting it from the “font” dropdown menu at the top of the screen.
Step Number 4:
With this feature, you’ll be able to search through the hundreds of fonts that are available in the Cricut library.
Step Number 5:
Choose a font that appeals to your sense of style. You can also change the position of your name if you so desire. You can now select both the word Hello and the text you want to include in the design by clicking on “attach.” In this case, you’re indicating to the software that you want the machine to cut everything exactly as you see it on the canvas by clicking “attach.”
Step Number 6:
Yay! You are now ready to begin cutting. To proceed, click “Make it” in the upper right-hand corner of the screen.
Step Number 7:
Your Cricut machine will be able to use the information from Design Space. Continue cutting by following the prompts. When cutting your stencil, make sure you select “mirror” on the cut screen because you will be using iron-on.
Step Number 8:
Once your material has been cut, remove the excess iron-on from the letters and unload your project. Weeding is the term we use to describe this procedure. Because this is a stencil, we will be removing the areas from our mat where we want paint to be applied. The words will be deleted in this case.
Step Number 9:
Using a heat press, press the iron-on onto the sisal mat until it is completely adhered. Place your iron-on onto the mat and use a low heat setting while moving the Cricut EasyPress across the surface of the mat.
Step Number 10:
We’re going against the grain a little bit here. Normal iron-on requires complete adhesion to the surface, which is why it’s best to follow the Cricut Heat Guide when ironing on.
If you’re using an iron-on as a stencil, make sure to remove it after you’ve finished painting. You should only adhere it to the paper to the point where you get nice crisp lines.
Step Number 11:
It will take some time to complete this process. Expect to go through several cycles of heat-then-peel to completely remove the backer.
Step Number 12:
To begin painting, remove the backer. Apply your paint directly to the mat’s open areas where the text will appear by squeezing it in. To get the paint into the mat’s fibers, use an up-and-down motion with a bristle paintbrush. Repeat the process until you’re happy with the outcome!
Final Step
Allow to dry and then remove the iron-on stencil. Look at those crisp lines! You will love using iron-on as a stencil on this type of surface. We wouldn’t recommend using iron-on as a stencil on any kind of base where the iron-on would fully adhere.
So, you’ve sure figured out how easy it is to make your choice of doormats with Cricut Maker 3 and Cricut EasyPress 2 so what are waiting for go get your hands on these amazing Cricut Supplies.


